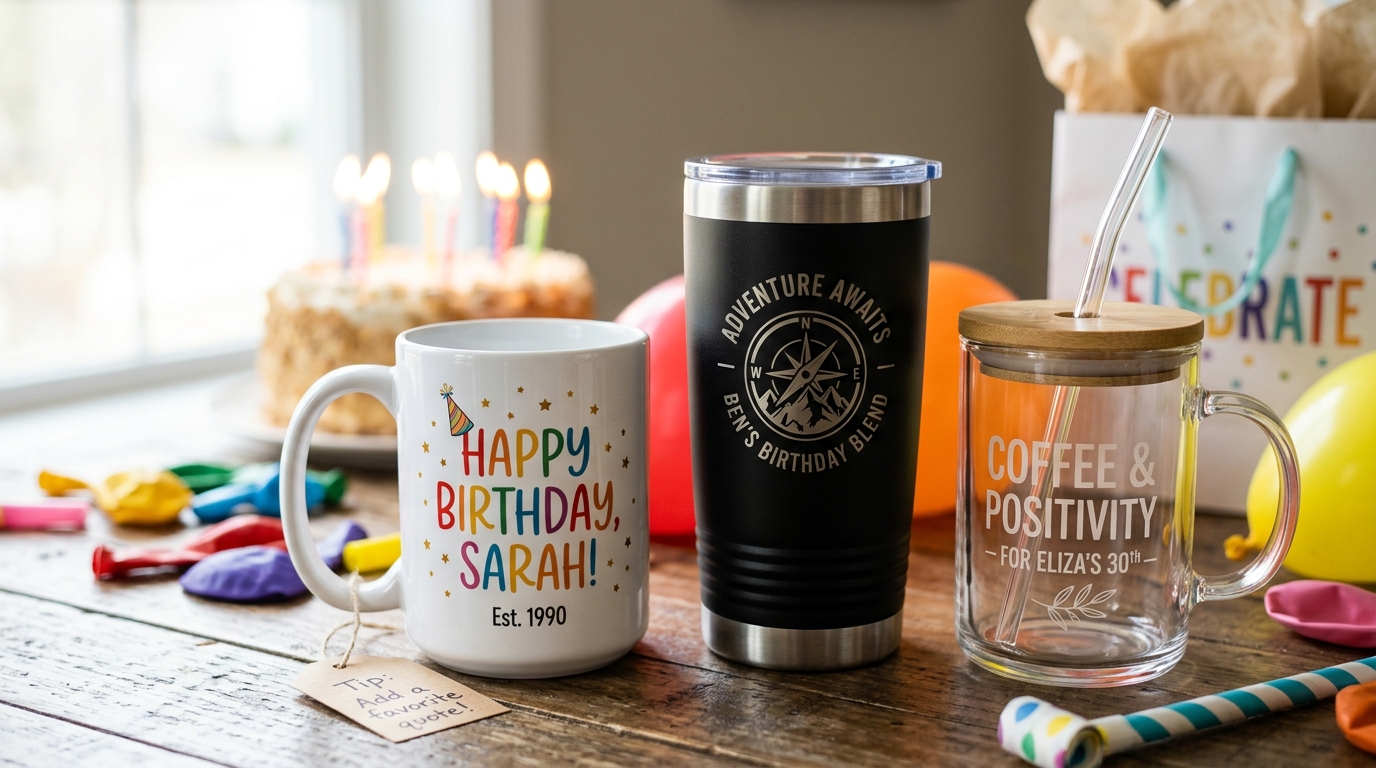
Cricut cup wraps have become one of the most popular DIY crafting trends for people who love customizing mugs, tumblers, and drinkware. A Cricut machine allows you to design and cut precise vinyl patterns that can be applied to cups for a professional and stylish look. Whether you are creating personalized gifts, selling custom cups, or just enjoying a creative hobby, learning how to design, cut, and apply a Cricut cup wrap properly can completely transform your results. In this tutorial, we will go step by step through the entire process in a simple and practical way.
Understanding Cricut Cup Wrap Design Basics
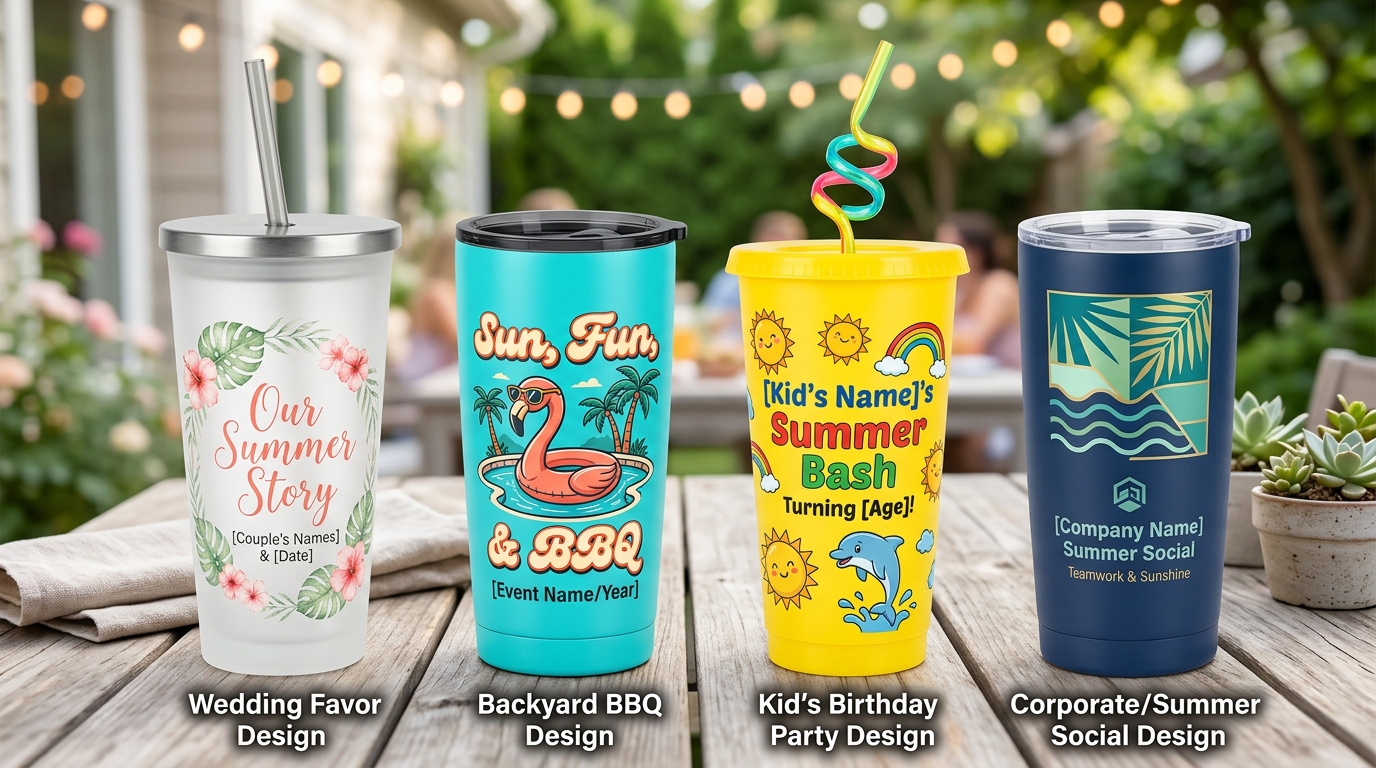
Before starting the cutting process, it is important to understand how cup wrap designs work. A cup wrap is a digital design that is created to fit perfectly around a cup or tumbler. These designs are usually made in Cricut Design Space, where you can customize text, shapes, images, and patterns according to your preference.
The key to a successful wrap design is proper sizing. If the design is too large or too small, it will not align properly on the cup surface. Most standard cups require careful measurement of height and width before starting the design process. This ensures that the final wrap looks clean and professional when applied.
Creating Your Design in Cricut Design Space
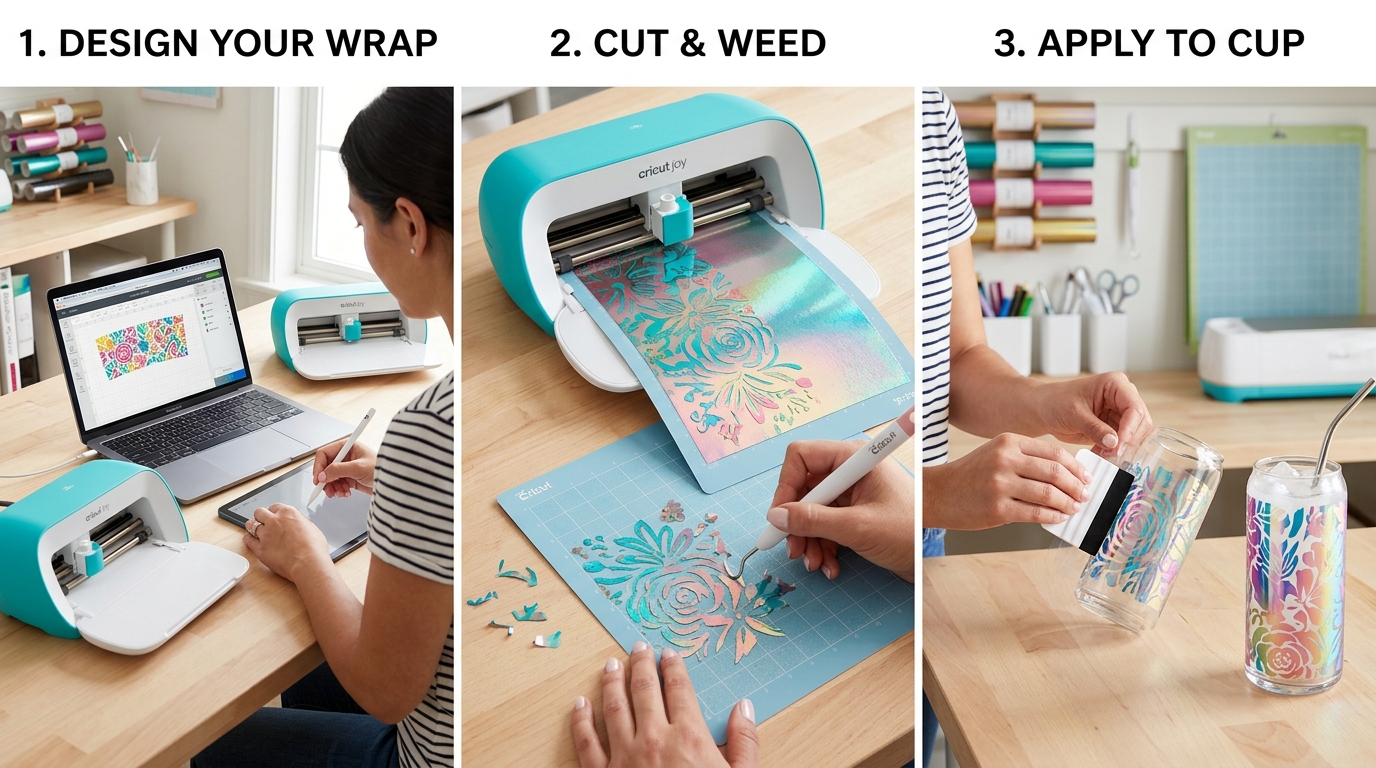
The first step in making a Cricut cup wrap is designing it in Cricut Design Space. This is the software used to create and edit all Cricut projects. You can either use ready-made templates or create your own custom design from scratch.
When designing, it is important to keep the layout simple and balanced. Overcrowded designs can look messy when wrapped around a curved surface. You should also consider the shape of the cup because cylindrical surfaces slightly distort flat designs when applied. Adjusting spacing and alignment in the design stage helps avoid problems later during application.
Choosing the right fonts and graphics also plays a big role in the final look. Bold and clean fonts usually work better for cup wraps because they remain readable even on curved surfaces.
Selecting the Right Vinyl for Cup Wraps
Material selection is a very important part of Cricut cup wrap projects. Not all vinyl types are suitable for drinkware. For best results, permanent adhesive vinyl is commonly used because it sticks well to smooth surfaces like glass, ceramic, and stainless steel.
Using low-quality or removable vinyl can cause the design to peel off quickly, especially after washing. High-quality vinyl ensures durability and long-lasting adhesion. In some cases, transfer tape is also required to move the design from the backing sheet to the cup surface without damaging it.
Cutting the Design with Cricut Machine
Once the design is ready, the next step is cutting it using the Cricut machine. You need to load your vinyl onto a cutting mat and send the design to the machine through Cricut Design Space.
Before cutting, always double-check the settings according to the type of vinyl you are using. Incorrect pressure or blade settings can ruin the material or result in incomplete cuts. After the cutting process is complete, carefully remove the excess vinyl around your design in a process called weeding. This step requires patience because small details must be removed without damaging the main design.
Preparing the Cup Surface Before Application
Just like any DIY project, surface preparation is extremely important. The cup must be clean, dry, and free from any dust, oil, or fingerprints before applying the vinyl wrap. Even small particles can prevent proper adhesion and cause the design to lift over time.
Cleaning the surface with rubbing alcohol is highly recommended because it removes invisible residues that normal washing cannot eliminate. A properly prepared surface ensures that the vinyl sticks smoothly and lasts longer.
Applying the Cricut Cup Wrap Correctly
Applying the wrap is one of the most delicate steps in the process. First, you need to position the design carefully on the cup to ensure it is straight and centered. Using transfer tape, gently place the vinyl onto the cup surface.
Once positioned, slowly press the design onto the cup starting from one side and moving outward. This helps avoid air bubbles and wrinkles. A scraper tool can be used to smooth out the vinyl and ensure it sticks firmly.
Patience is very important during this step because rushing can lead to misalignment or trapped air bubbles that ruin the final appearance.
Removing Transfer Tape and Final Adjustments
After the vinyl is fully applied, the next step is to remove the transfer tape carefully. This should be done slowly at an angle to avoid lifting the design. If any part of the vinyl starts to come off, press it back down and continue slowly.
Once the tape is removed, inspect the design for any air bubbles or loose edges. Small bubbles can often be removed by gently pressing them out with a scraper or pin.
Curing and Caring for Your Cricut Cup Wrap
After application, it is recommended to let the cup sit for at least 24 to 48 hours before using or washing it. This allows the adhesive to fully bond with the surface.
To maintain the design, hand washing is always preferred instead of using a dishwasher. Harsh scrubbing should also be avoided to prevent damage to the vinyl.
Conclusion
Cricut cup wraps are a fun and creative way to personalize cups and tumblers with professional-quality designs. By properly designing, cutting, and applying vinyl step by step, you can achieve clean and long-lasting results. The key to success lies in accurate sizing, careful cutting, proper surface preparation, and patient application. With practice, anyone can master Cricut cup wrap techniques and create beautiful customized drinkware for personal use or business purposes.